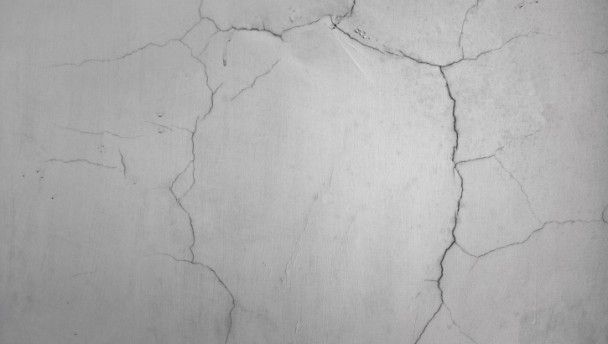
You might think that filling in a wall crack might be a hard and strenuous task, but it can be done in just ten simple steps.
Your walls can form cracks for many different reasons, but sometimes some people just leave them to get worse instead of tackling the problem head on. So here’s how to fill in a crack in just ten easy steps.
What you’ll need:
Filler
Sandpaper
Paint scraper
Dust mask
Paint
Paint brush
Step 1: Clean the crack
This is one of the more obvious steps, but it is often overlooked. If you want your sealant to bond properly then you’ll need to clean out the crack as best you can. Sand down any rough edges and do your best to get all of the dust out of the crack. Make sure to use a dust mask for this one!
Step 2: Pick the right filler
Choosing the right filler can make or break your walls – literally. If you’re filling in a big crack or a hole then you’ll need some ‘big hole filler’. However, if the crack is only small and thin then you’ll want to buy ‘hairline filler’. There are loads of different types to chose from so read the back of the packet before you buy.
Step 3: Fill in the crack
Once you have the crack cleaned and you know what filler you should be using you can begin on filling in the crack. Using a paint scraper, fill the crack and cover the opening, then scrape away whatever is left on top.
Step 4: Leave to dry
Once the filler has been applied you can leave it to dry.
Step 5: Time for tea
You might be waiting awhile, so make yourself a cuppa tea (or coffee). It’ll help pass the time.
Step 6: Sand the crack
Once the filler has dried you can begin on cleaning the surface of the crack where the filler has expanded out. Make sure to use a dust mask for this just like you did in step 1.
Step 7: Check your work
Now would be a good time to check the crack to make sure it’s 100 per cent perfect. If there’s still a bit of a divot, or if the filler is still bulging over the sides of the crack then you may need to add some more filler, or sand it down further – whichever.
Step 8: Once you’re happy, crack out the paint
Once you’re happy with your work you can begin on painting over the crack. Just make sure to use the same paint colour that’s already on the walls. Give it a lick of paint and do your best to blend it in with the existing paint. Now remember, you’re painting fresh paint over old paint, so there might be a slight difference.
Step 9: Leave to dry over night
Make sure to leave the paint to dry over night so that you can check to see how the new paint really looks compared to the old paint.
Step 10: Finish up
Finally, if you’re happy with your work then good for you, but if you think you need another lick of paint over the crack then just follow the above steps.
LISTEN: You Must Be Jokin’ with Aideen McQueen – Faith healers, Coolock craic and Gigging as Gaeilge


