A mouldy bathroom isn’t the most pleasant place to conduct some of your most important business. Here’s how to get rid of the manky stuff in just ten easy steps.
Nine times out of ten you spend more than five minutes in the bathroom. Whether you’re having a shower, a shave or you’re visiting a man about a dog, a mouldy jacks can be somewhat off putting. The bathroom is where you go to get clean, so it should be clean too and that’s why we’re bringing you ten easy steps to remove mould.
What you need:
Gloves
Goggles
Face mask
Mould remover solution
Water
Soap
What to do:
Step 1: Prepare your workspace
The first thing to do when removing mould is to prepare the area you’ll be working on. Start by removing anything that has already been affected by the mound, such as any wooden cabinets or the shower curtain. Seal these off in plastic bags and fling them into the bin.
Step 2: Seal off the area
You don’t want mould spreading to the rest of the house so crack open a window and close off the door. Seal any other vents that may lead out to the rest of the house i.e. the one over the door. Make sure you have everything you need with you, as you won’t want to keep opening and closing the door every five minutes.
Step 3: Find the problem
Once the bathroom has been sealed off you can begin work. Check to see where exactly the mould is coming from. It may be a case where you just haven’t cleaned the bathroom out in awhile, but it could also because of a leaking pipe. If this is the case you’re going to have to knock in some walls (and/or the ceiling).
Step 4: Clean the area
Once you’ve determined the source of the mould you can begin cleaning the affected area. Wash the affected area with warm soapy water, as this will prepare the area so the toxic mould remover can work its magic. Once you’ve done this, give it five minutes to dry.
Step 5: Mix the mould removing solution
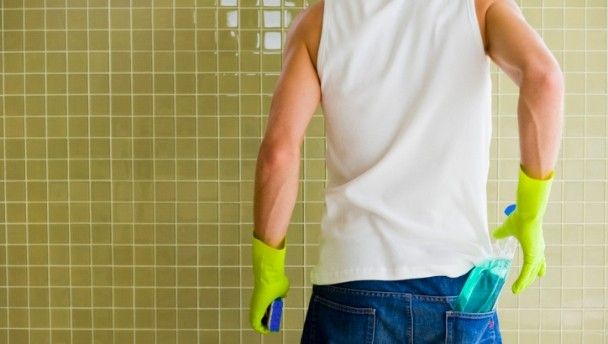
Make sure to wear protective goggles and old clothing for this bit – not to mention gloves. Mix one-quarter cup of the mould removing bleach with four cups of water. When applied, this will help to remove any remaining mould.
Step 6: Apply the remover
Once the solution is mixed you can begin on applying it to the affected area. Wait 20 minutes for the solution to really dry in there.
Step 7: Reapply the remover
Once you’ve waited 20 minutes for the solution to dry you can apply another coat. As with step 6, once it’s on you’ll have to wait 20 minutes before doing anything else. If this hasn’t quite done the trick you can apply a third coat and wait a further 20 minutes.
Step 8: Treat the ceiling
To prevent any more mould from growing back you should treat the ceiling with a borate-based detergent. Most hardware stores should stock mould preventing detergent, so just check the back of the packet to see if it contains borates. Apply this to the affected areas and leave it to dry in, but make sure to stay protected yourself. There’s no need to rinse this off.
Step 9: Air out the bathroom
Once you’ve treated the bathroom you can start to air it out. Open the window fully (if you haven’t already) and close the door behind you. Leave the window open and the door closed for an hour or two.
Step 10: Clean regularly
Now that your bathroom is free from mould you should keep it that way by giving it a good scrub down regularly. Give it a quick once over every week and give it a proper full blown clean once every month. Now… back to that important business we were talking about.
